All the open-source software used in Yun2Infinity is based on the PostgreSQL database. You can access the underlying PostgreSQL to see how the data are stored. This is also necessary for changing the username and passwords of the FROST-Server.
Connecting to PostgreSQL using pgAdmin
I will use the pgAdmin software, which is a GUI for managing the Postgresql database, to access the database. I am assuming you installed Yun2Infinity on a server computer. Now with your own laptop/PC you can access the database remotely.
Download and install pgAdmin on your local computer. Download pgAdmin
First right click on the servers and create a new server.
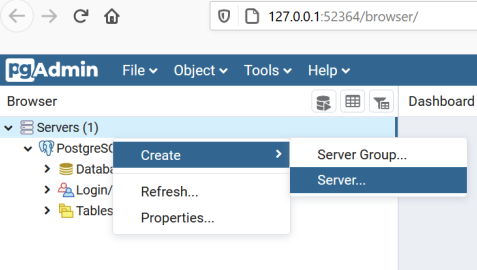
Figure 1:Create a new server.
In the general tab enter a name. In my case, I used the name chaos.
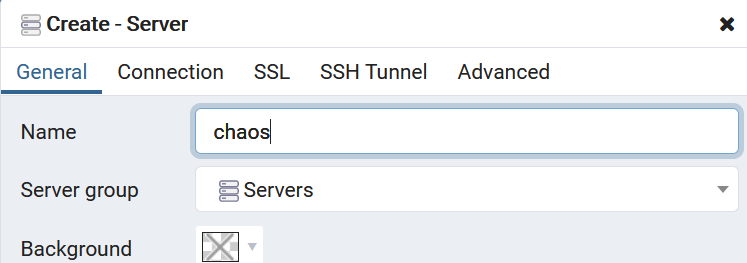
Figure 2:Fill in the server name.
a. In the connection tab key in localhost for your host, and enter the username and password you entered while setting up the Yun2Infinity process.
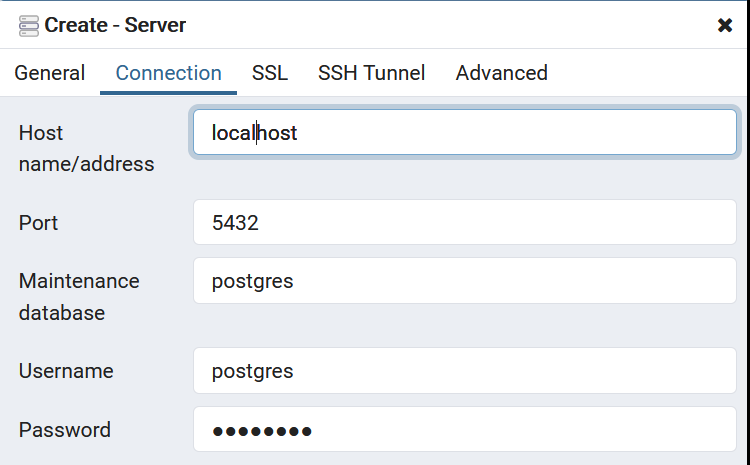
Figure 3:Fill in the connection details.
b. We are using ssh to access the server computer. Key in the necessary parameters to connect to your host computer. The details of how you ssh into your ubuntu server/computer. Click save and you will be able to access the database.
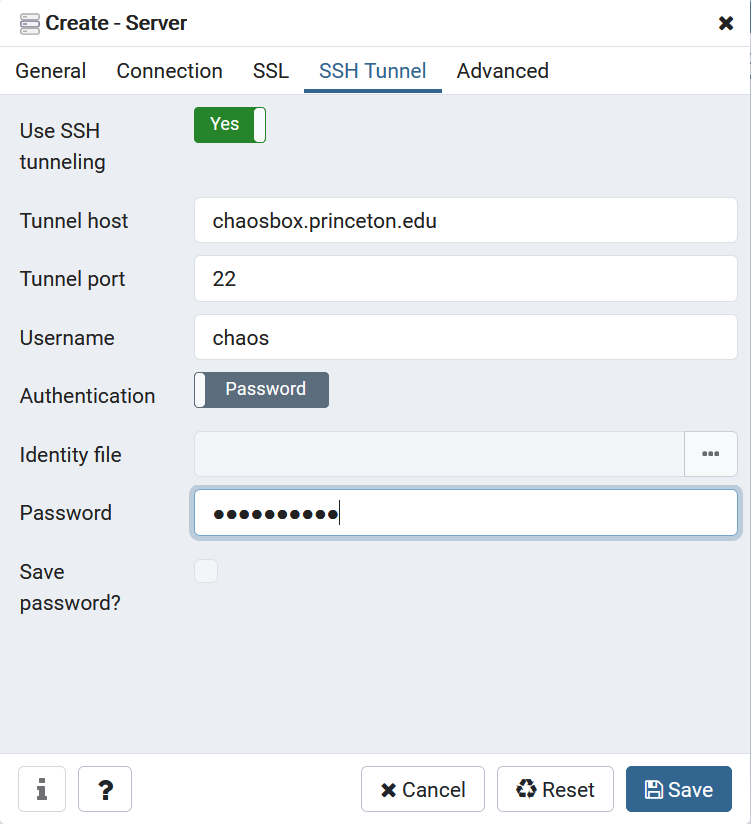
Figure 4:Fill in the ssh tunnel details.
c. As you remember in the Yun2Infinity setup script the database name that we created is spatempdb. Click on the extensions and you will be able to see all the extensions installed in the database. They should include all of the extensions shown below.
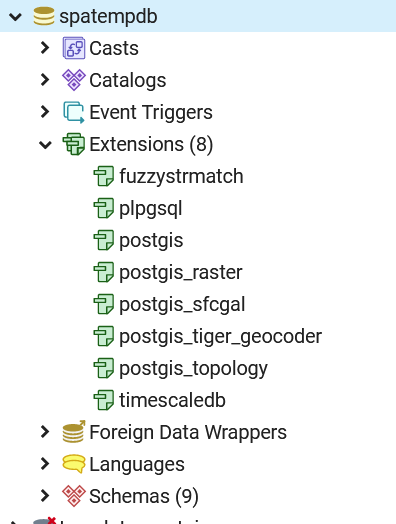
Figure 5:You can see all the extension that is installed.
d. Go to the schema->public->tables. You should see 20 tables based on the sensorthings api data model for modelling your IoT network.
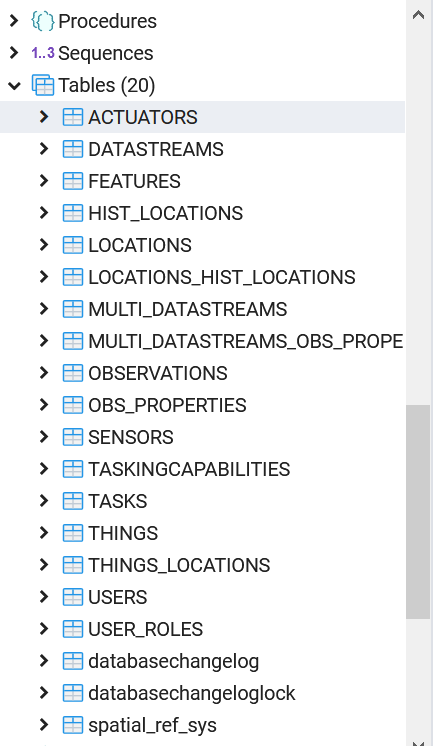
Figure 6:You can see all the tables of the Sensorthing API.
Setting FROST-Server Authentication
Right click the table USERS -> View/Edit Data -> All Rows. You will see the table with all the information below. There are three users defined in this table:admin, read and write.
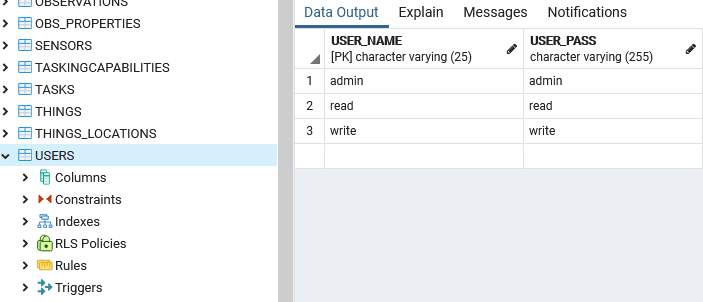
Figure 7:All the username and their password.
a. I will rename “admin” to my desired username. In this case, I will name it “new_user_name”. Double-click on the cell. Change the name. Then click on the “Save Data Change” button. You can change the password similarly here.
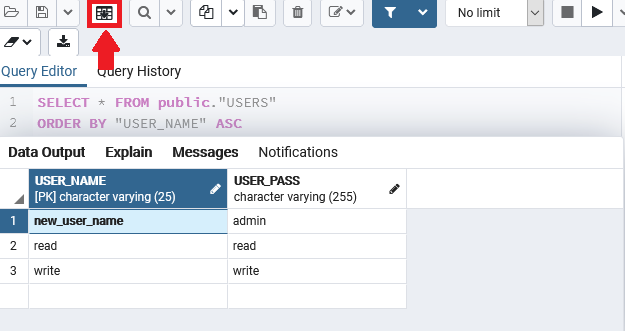
Figure 8:Editing the username and password.
Now right-click on the table USER_ROLES -> View/Edit Data -> All Rows. The change is reflected in this table. According to the table, the USER_NAME: new_user_name has the ROLES of admin, create, delete, read and update. It means the user new_user_name is able to do all these actions. So you can create new users and their roles for accessing the Sensorthings API by manipulating these two tables.
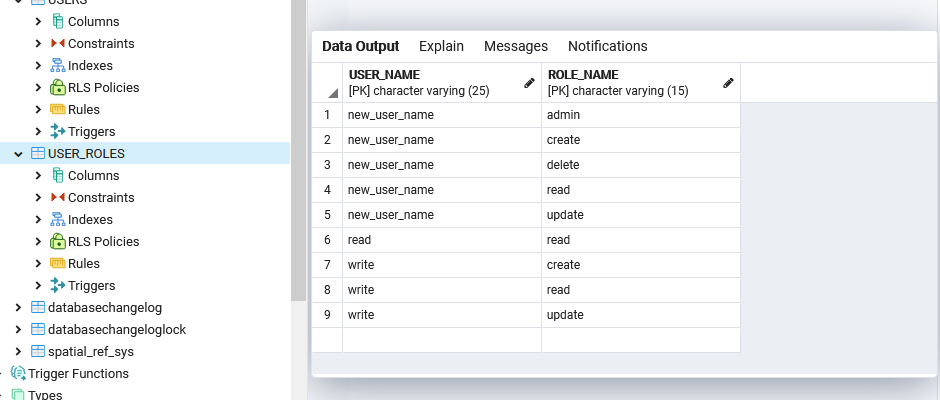
Figure 9:All the username and their roles.