5.1. Evaluating Passive HVAC Design Strategies Part 1: Designing Windows and Shade#
5.1.1. Modeling shading in FreeCAD#
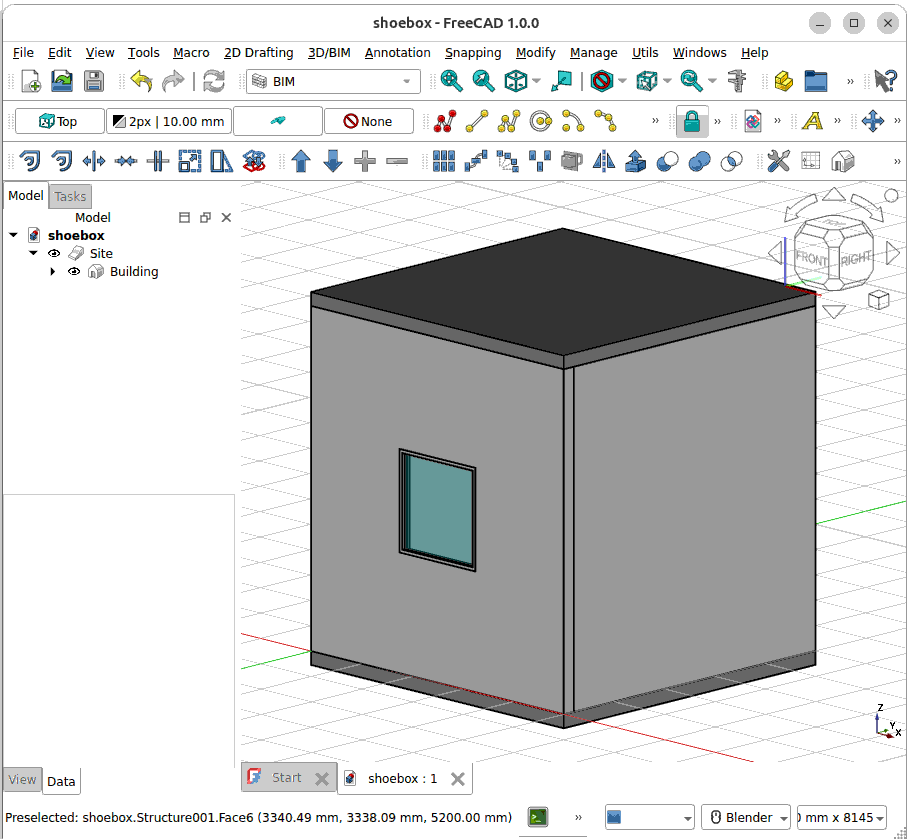
In this tutorial we will be using the shoebox model that was constructed in the previous exercise. Open the FreeCAD shoebox.FCStd model.
Draw a rectangle with the rectangle tool.
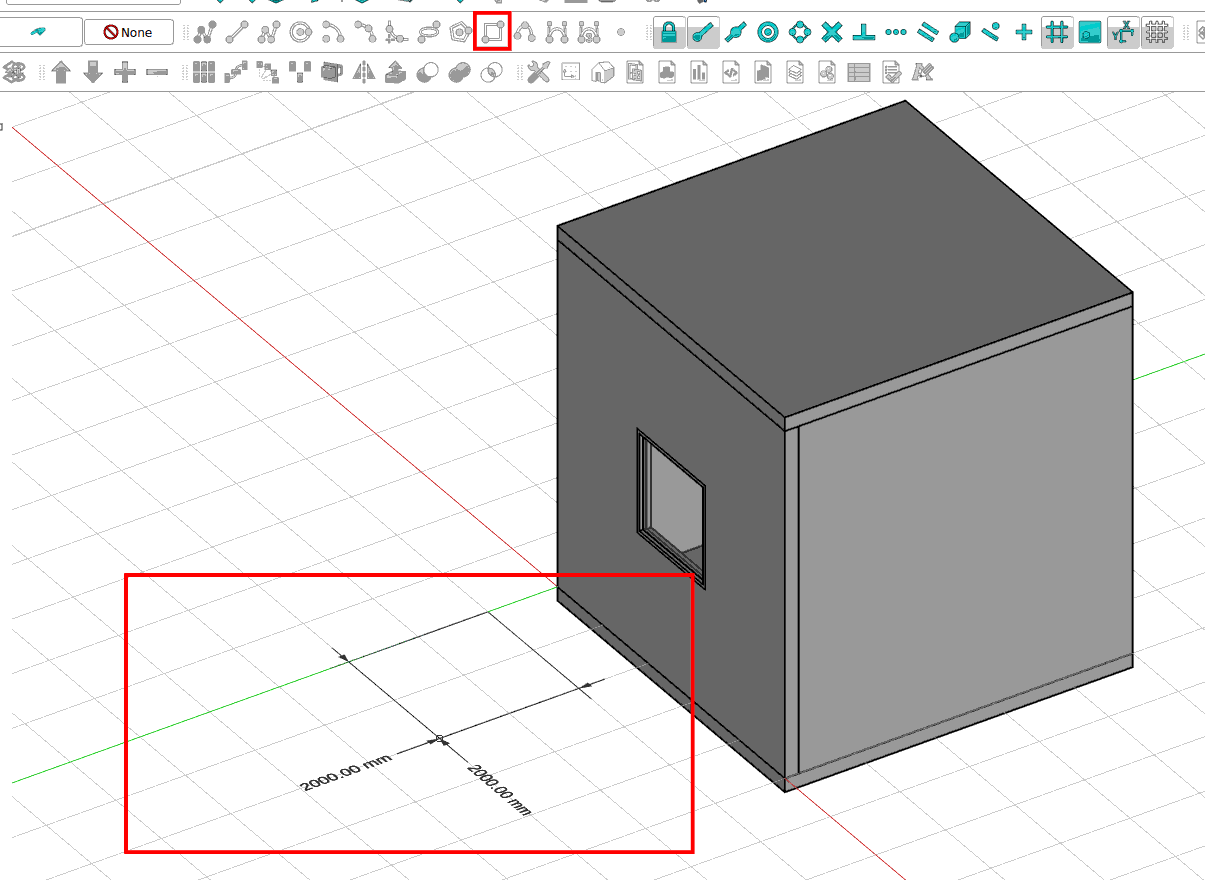
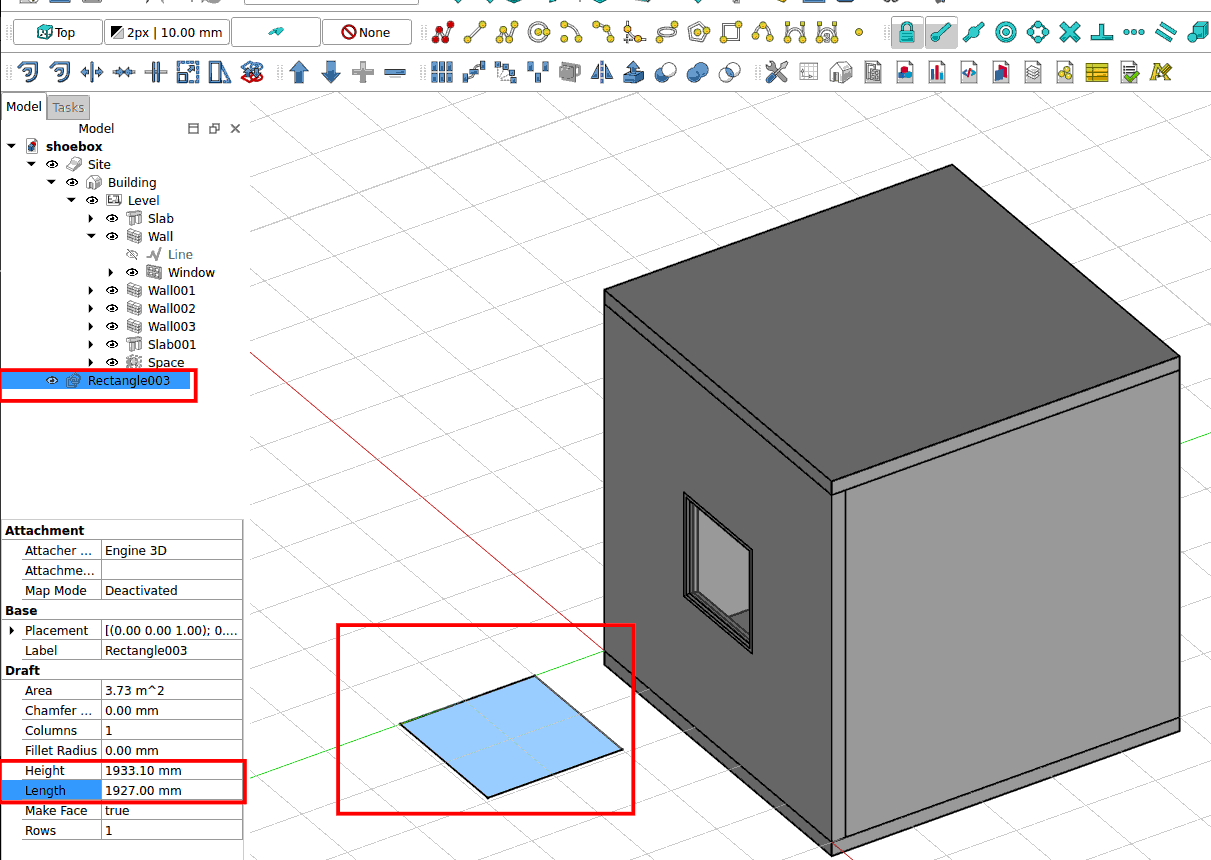
Select the rectangle and change the height and width
height = 1500 mm
width = 1500 mm
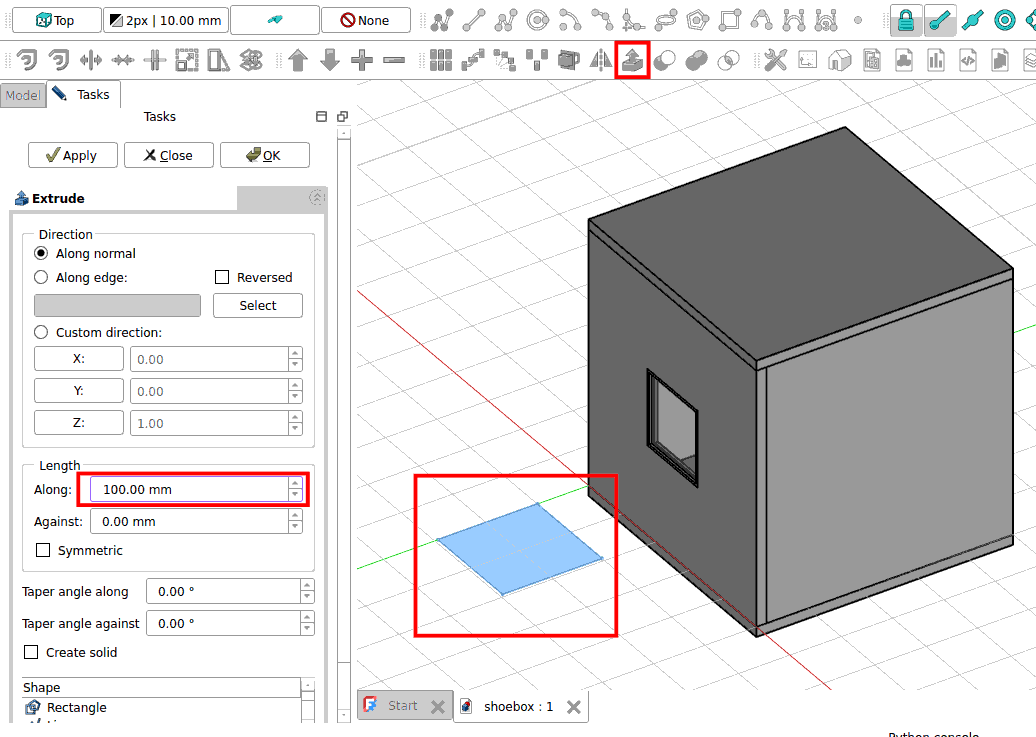
Select the rectangle and extrude it.
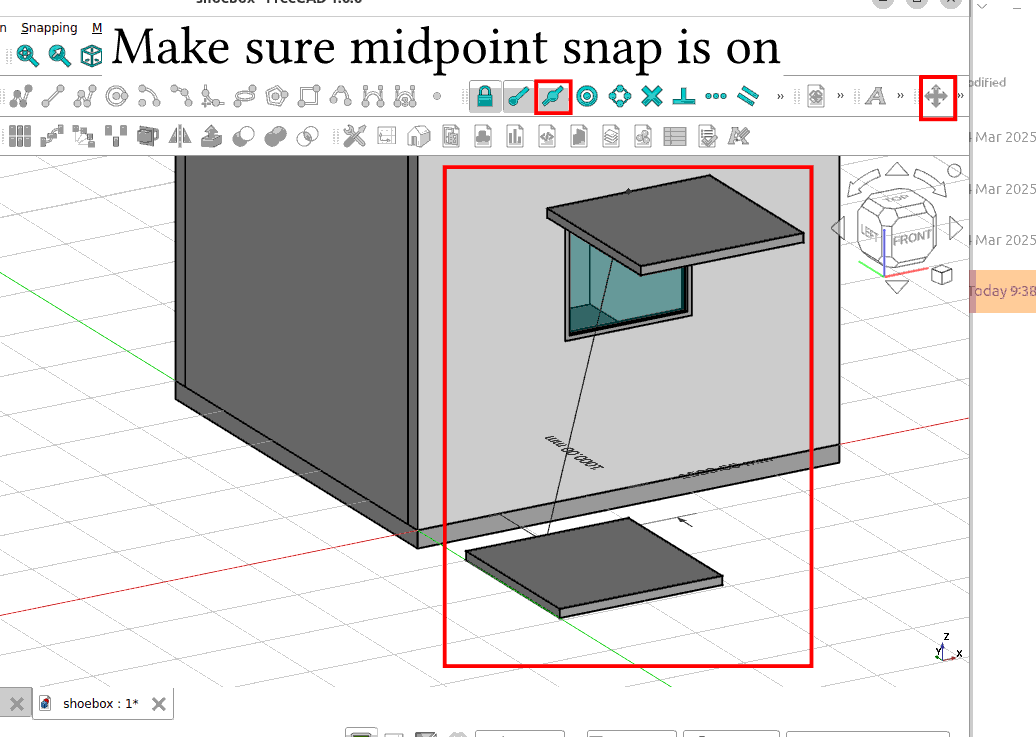
Make sure you have the mid point snap on. Select the extruded rectangle. Click on move and move it to the top of the window.
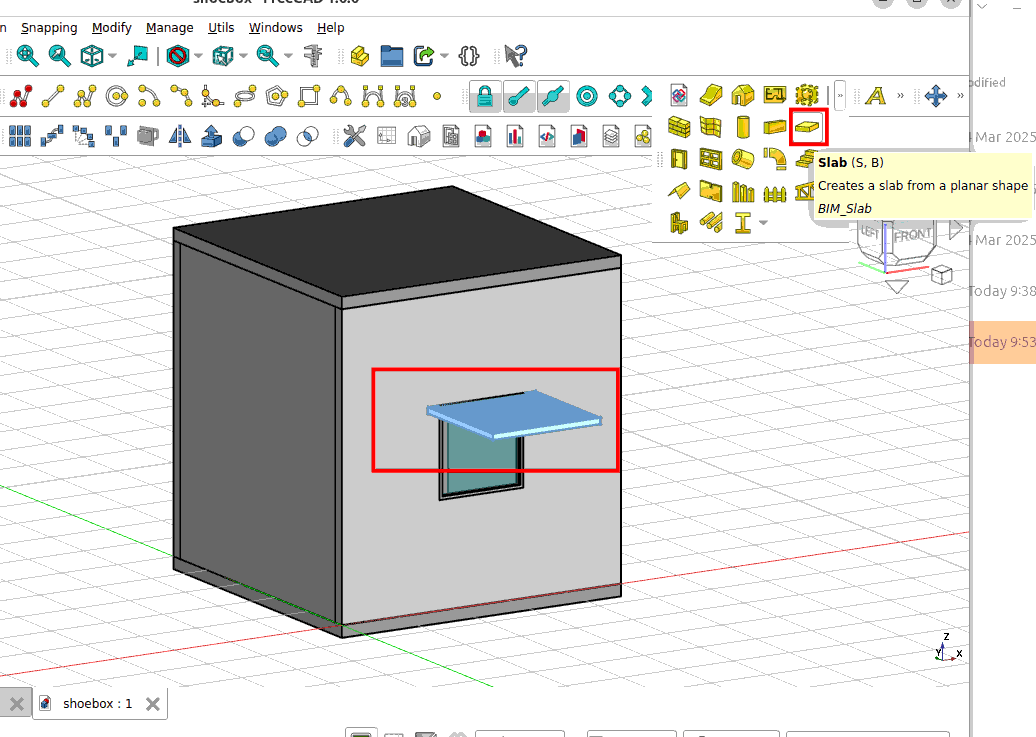
Select the extruded rectangle. Then click on slab. The extruded rectangle will now become a IFC slab object.
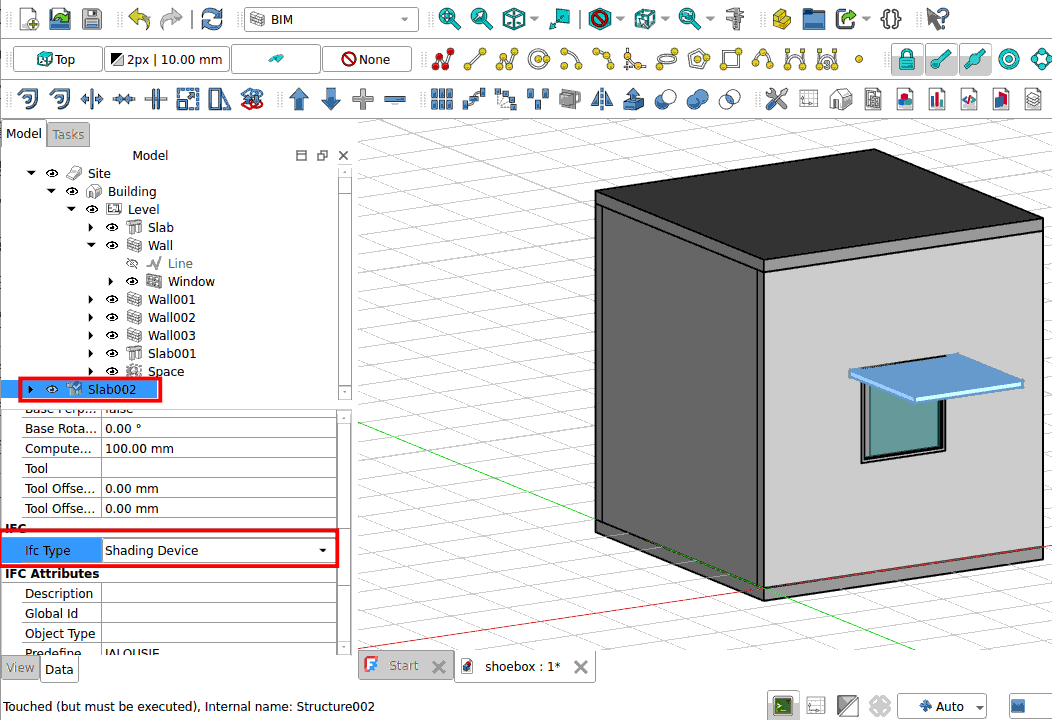
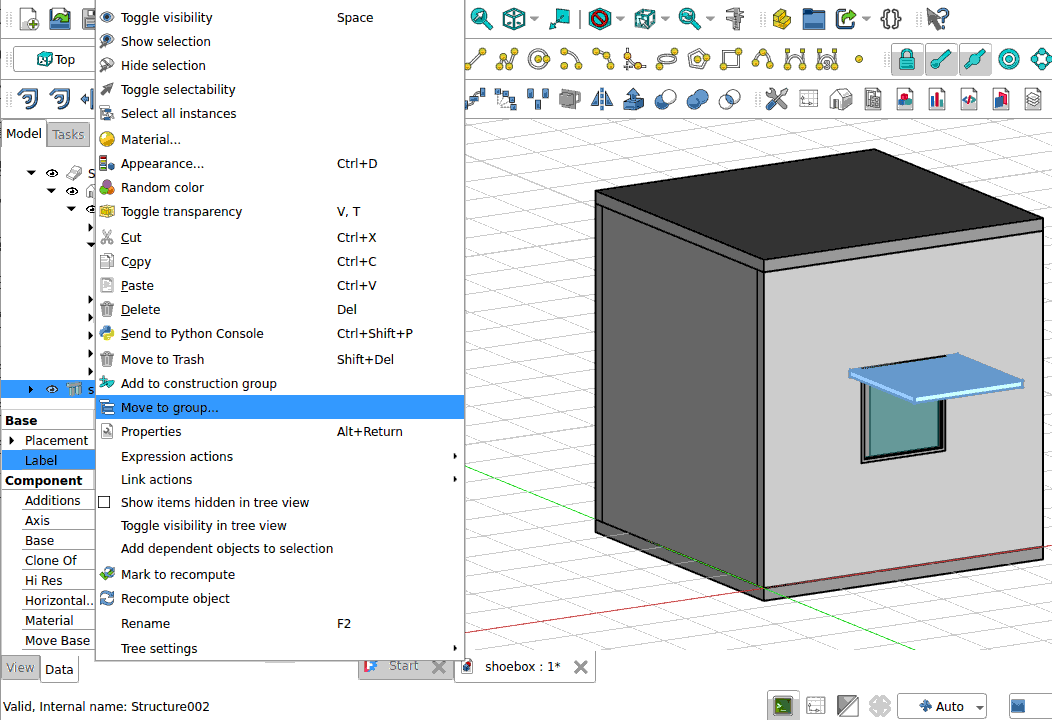
Select the slab object in the model window. In the Data tab, look for the Ifc Type parameter and change it to ‘Shading Device’.
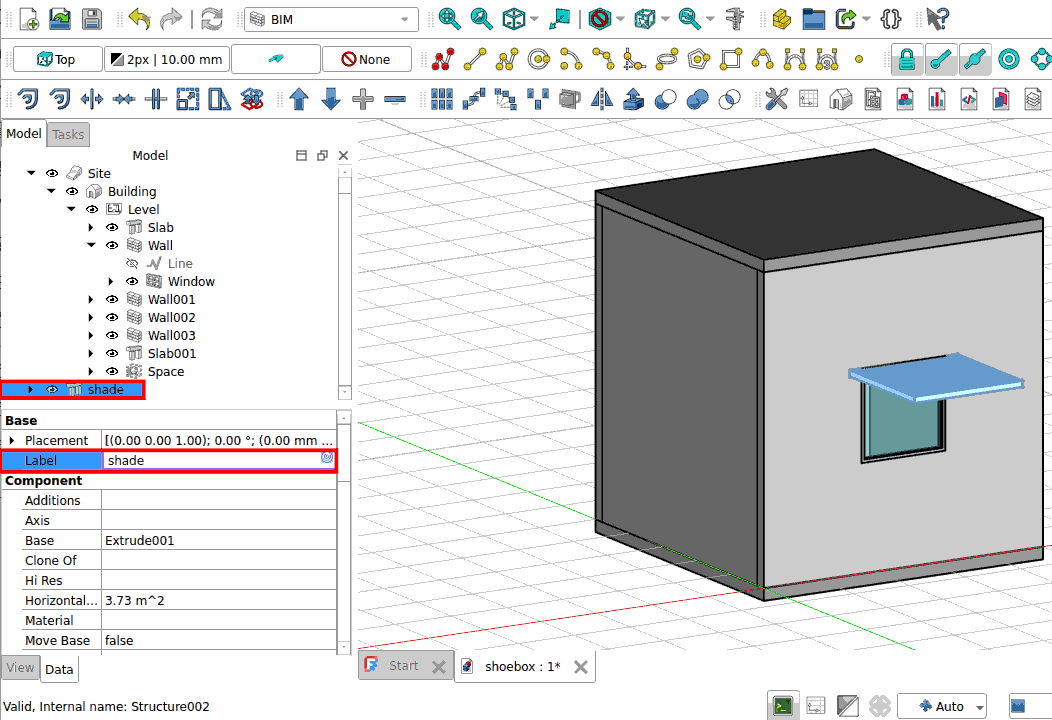
Rename the slab to ‘shade’.
Right click on the shade. Select Move to group.
Select Level. The shade will be added into the Level group. Save your model.
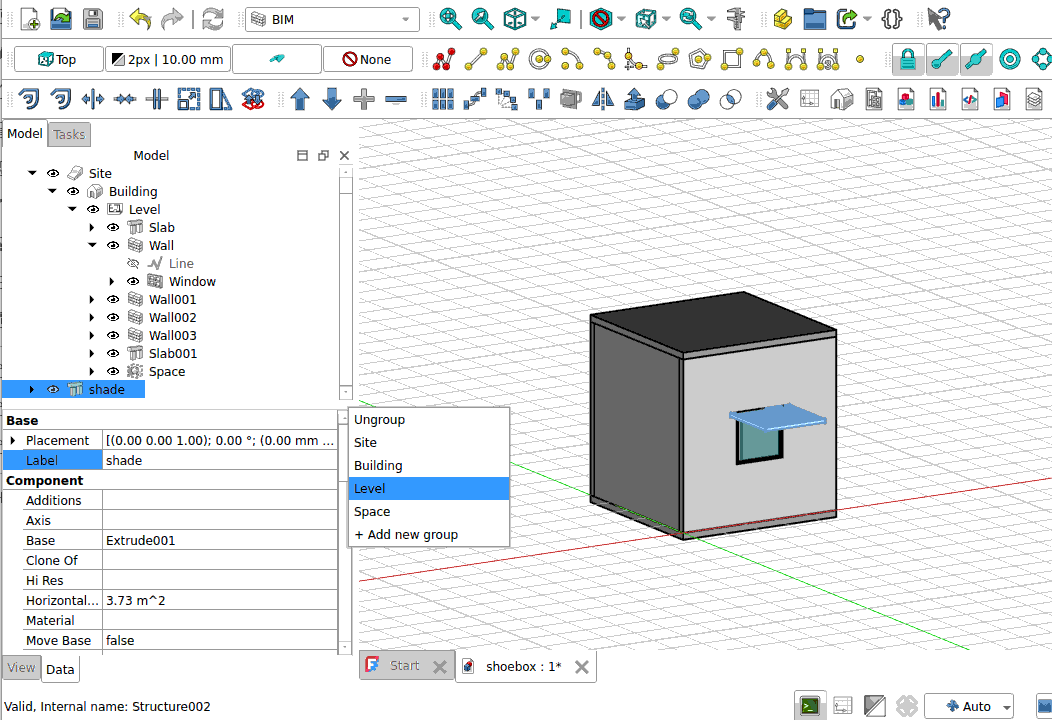
Select the Site object. Then go to File -> Export. Export the model to Wavefront OBJ - Arch module (*.obj).

5.1.2. 3D sun path analysis#
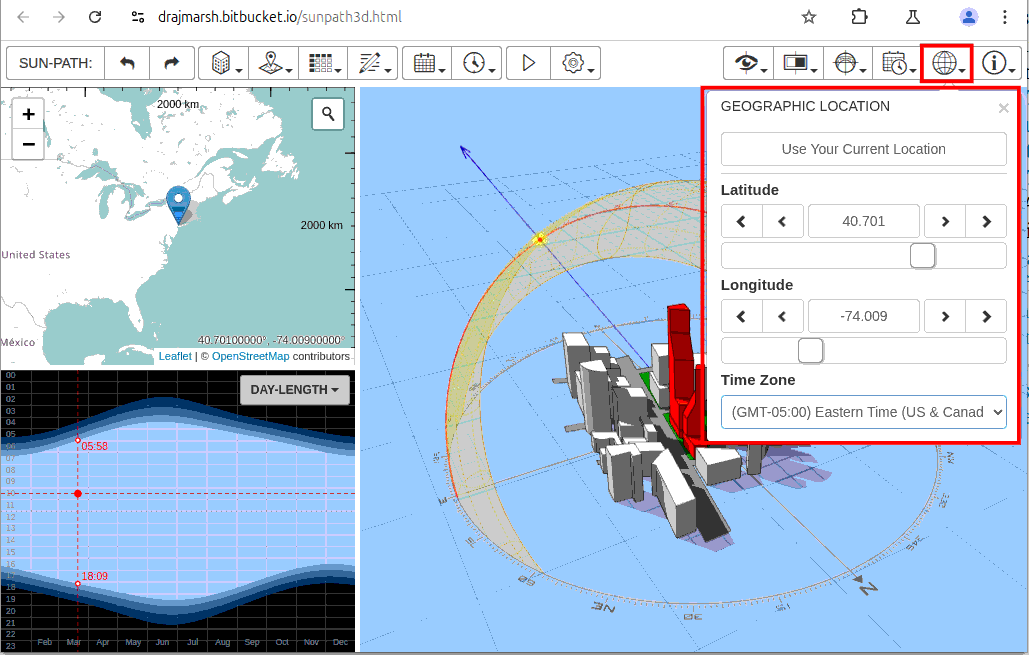
Go to the 3D sun path web app. Change your Geographic location to New York:
Latutide: 40.701
Longitude: -74.009
Time Zone: Eastern Time
Load the shoebox_shade.obj file that was exported from FreeCAD.
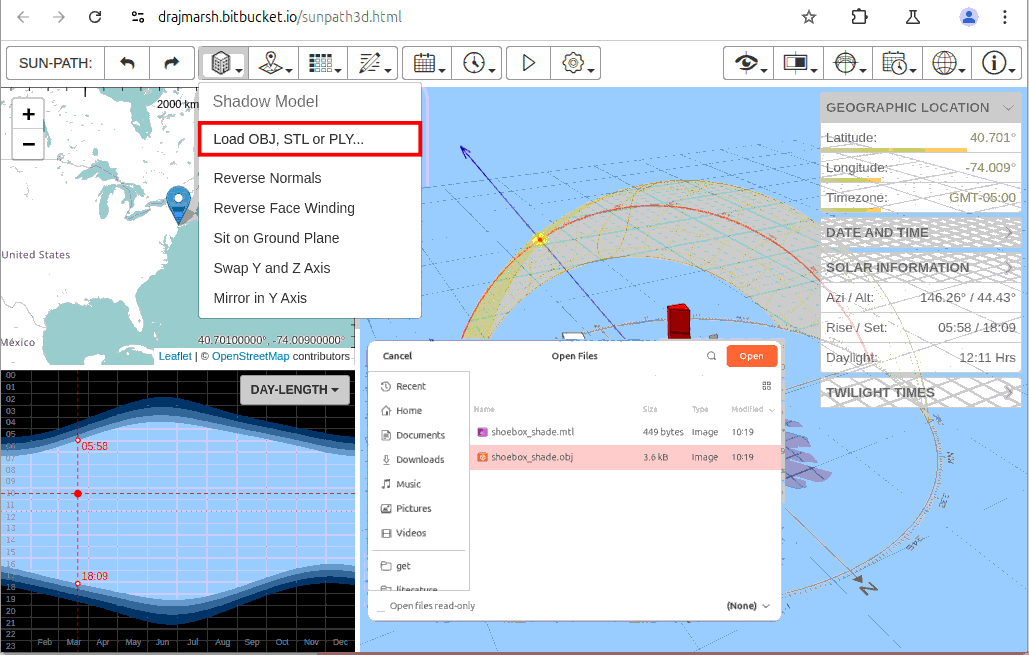
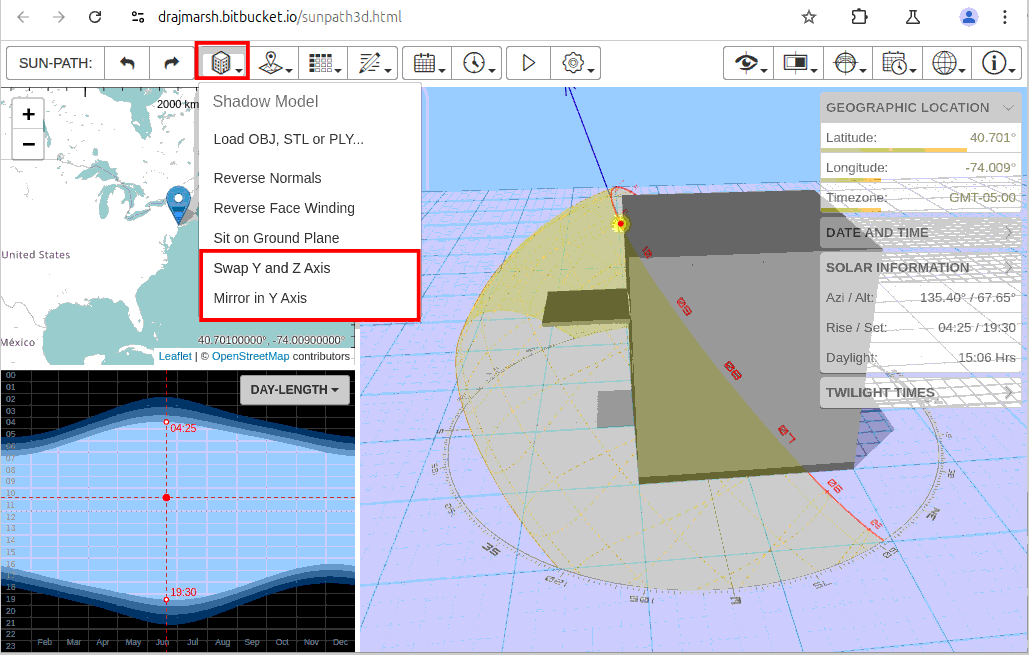
Once loaded, you will realize the model is not position correctly. Follow the instructions below to position it correctly.
Shadow Model -> Mirror in Y Axis
Shadow Model -> Swap Y and Z Axis
Shadow Model -> Mirror in Y Axis
Shadow Model -> Reverse Normals
After these 3 transformation. Your model should be positioned correctly. The shaded window must be facing the south.
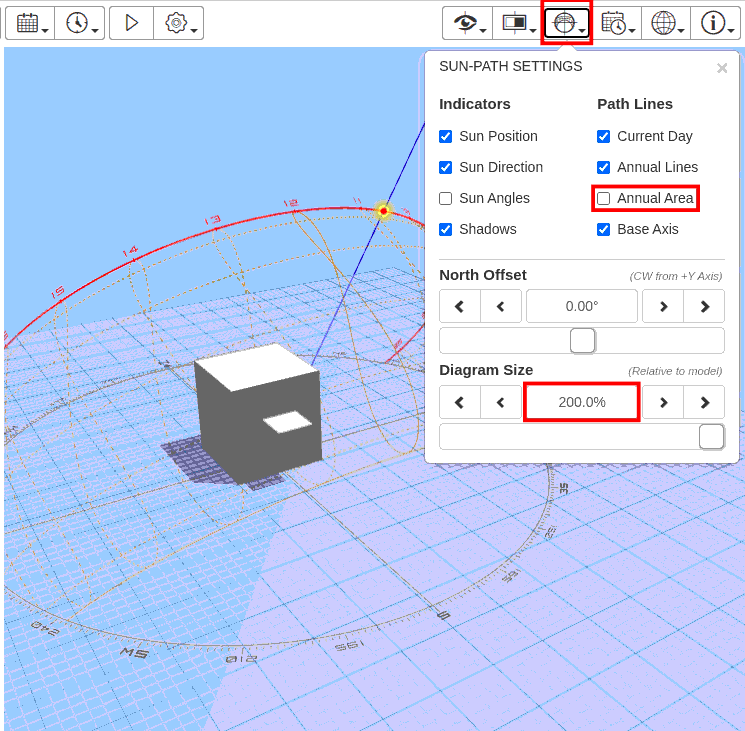
Go to Sun-path Setting. Change the Diagram Size to 200% and untick Annual Area.
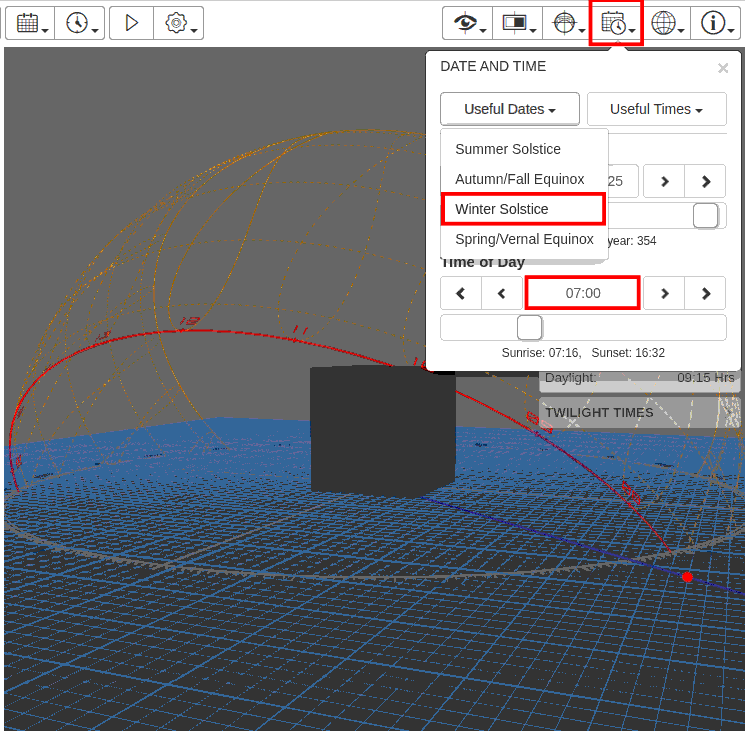
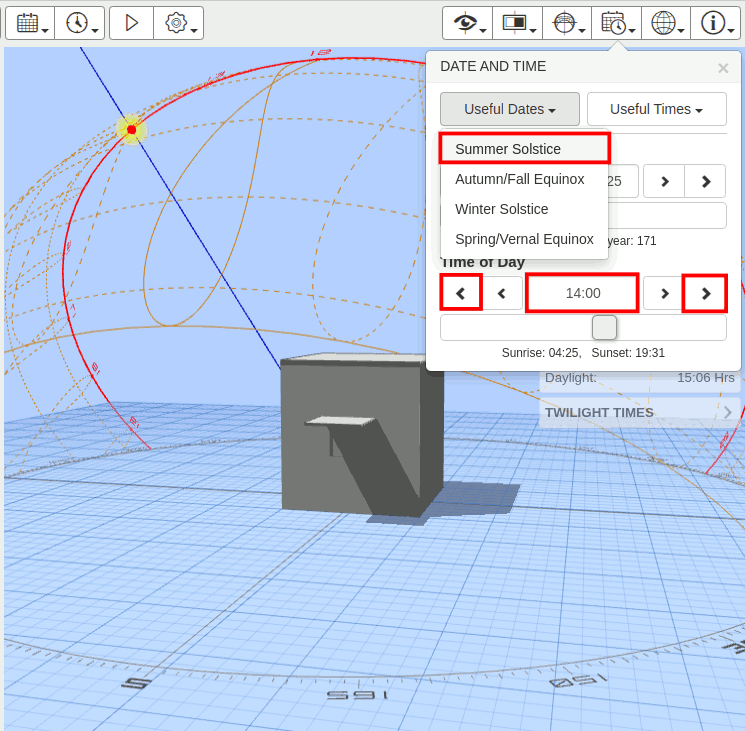
Go to Date/Time panel. Click on Useful Dates -> Winter Solstice. Click on Time of Day and enter 7.
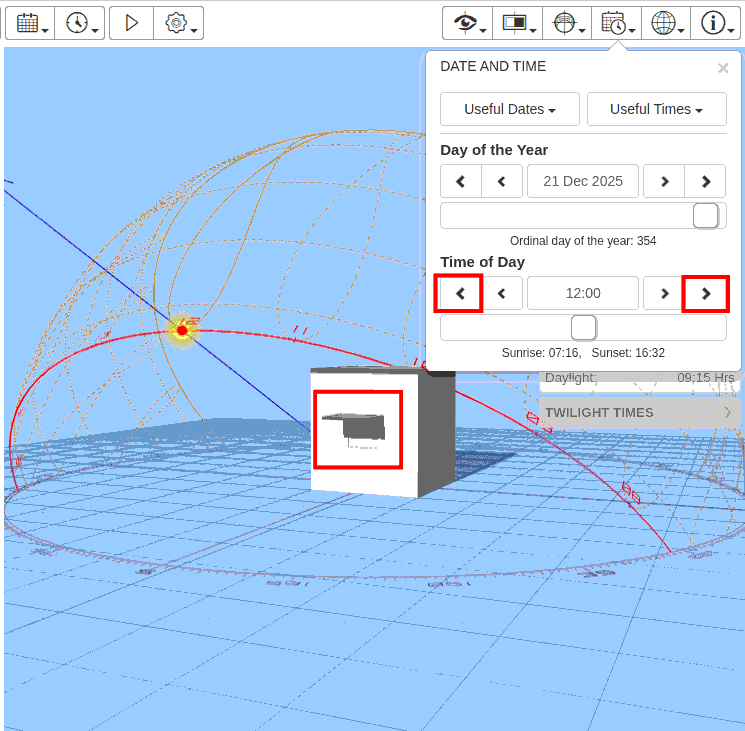
Cycle through the day by clicking on the outer arrow of the Time of Day parameter. The time will move in 30 mins with each click. You can see that at noon 12pm half of the window is shaded. This is not desireable as we want winter heating. The shading is too long.
Repeat the step 5-6 for Autumn and Spring equinox and summer solstice. For e.g. the image below shows at summer solstice the shading shades the window most of the time except 9-10am and 1.30-3.30pm timing with a slice of window exposed to direct sun.
You can reduce the length of the shade or size/shape of window to optimize the window and shading design.