22. Draw Polygon with Digitizing Tool#
You can switched on the “Advanced Digitizing Toolbar” and “Shape Digitizing Toolbar” by right-clicking on the top toolbar and enabling them with the dropdown menu.
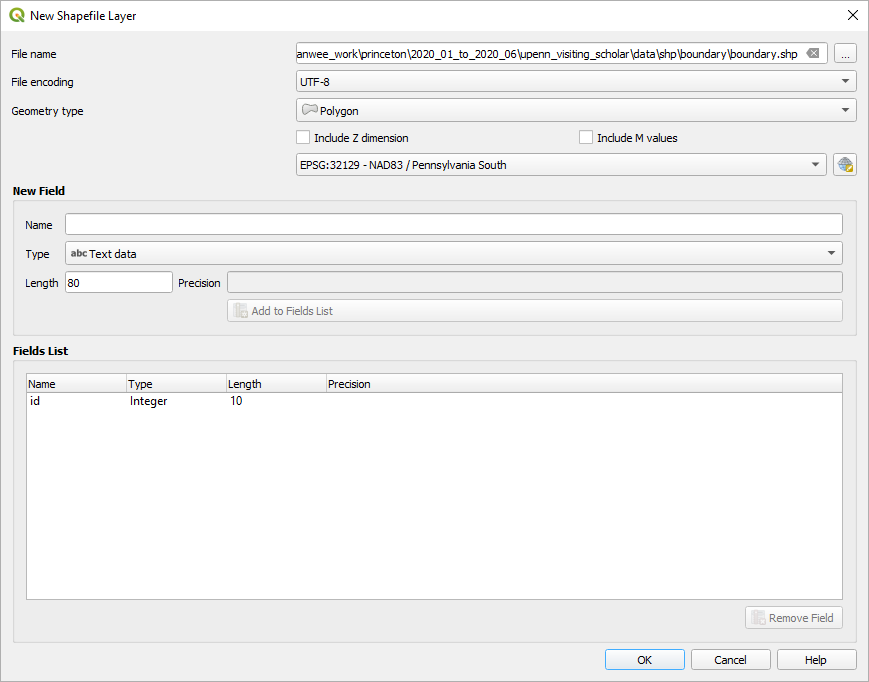
Create a new polygon layer. You can choose which layer format to be a shapefile, temporary etc. Look at Drawing in QGIS, Step 1-4 for more information.
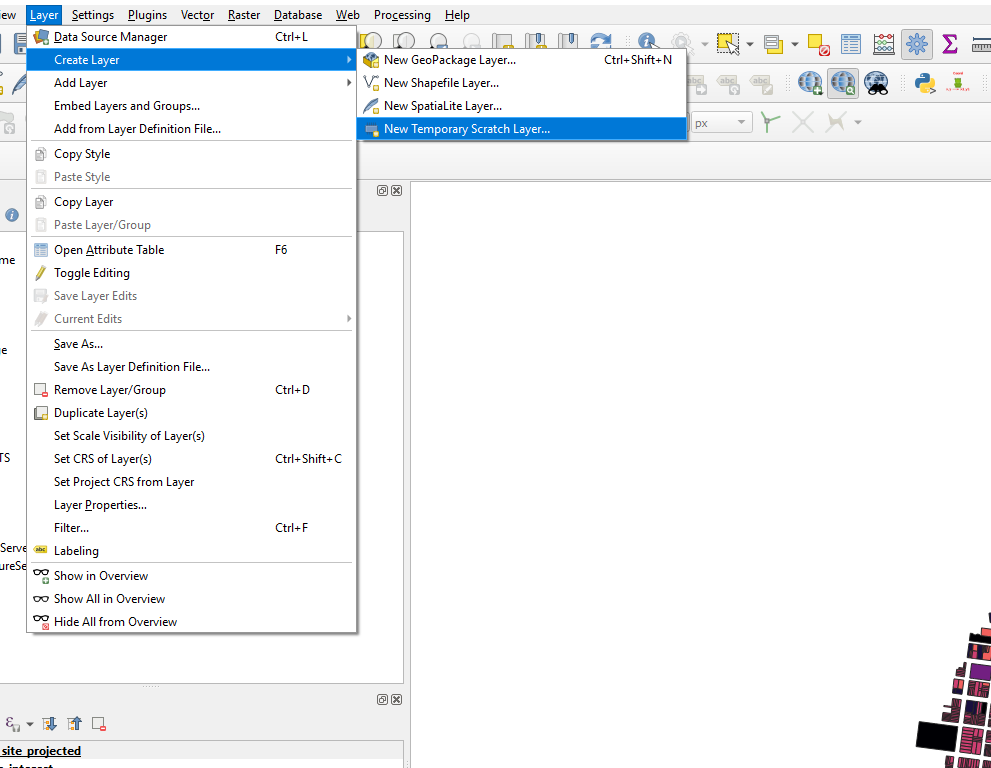
Creat the layer accordingly.
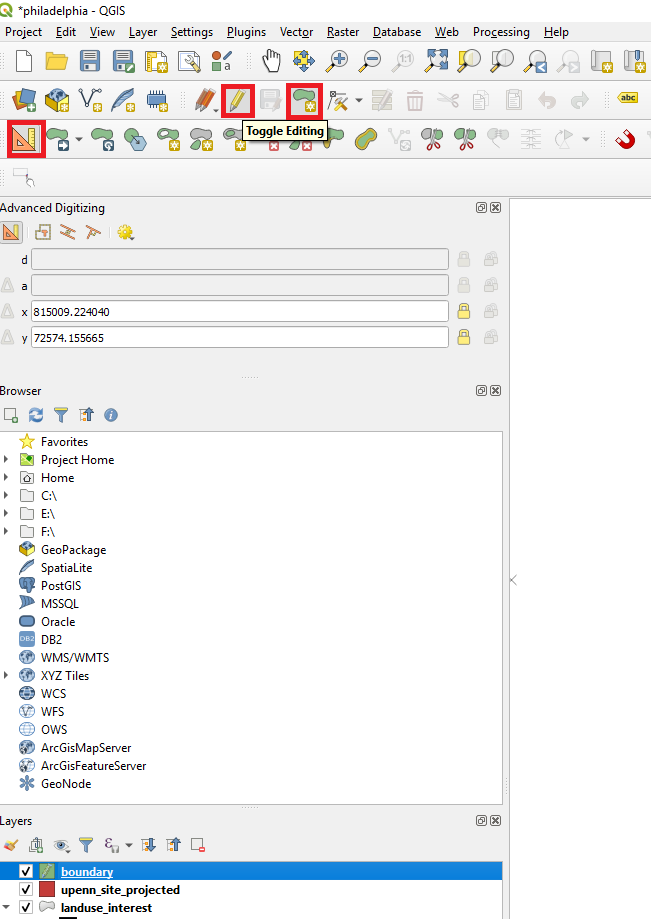
Once the layer is created, click on the layer so that it is the active layer. Then click on the “ Toggle Editing” icon, follow by “Add Polygon Feature”.
For drawing construction lines (guide lines) for your drawing, click on the “Construction mode” icon. Everything you draw when the mode is active will be guides.
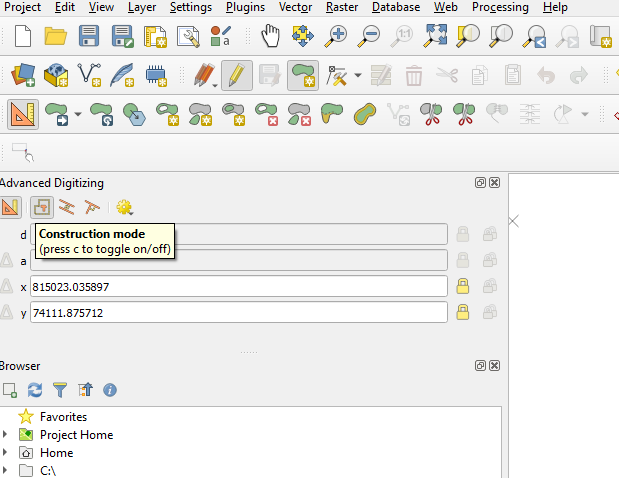
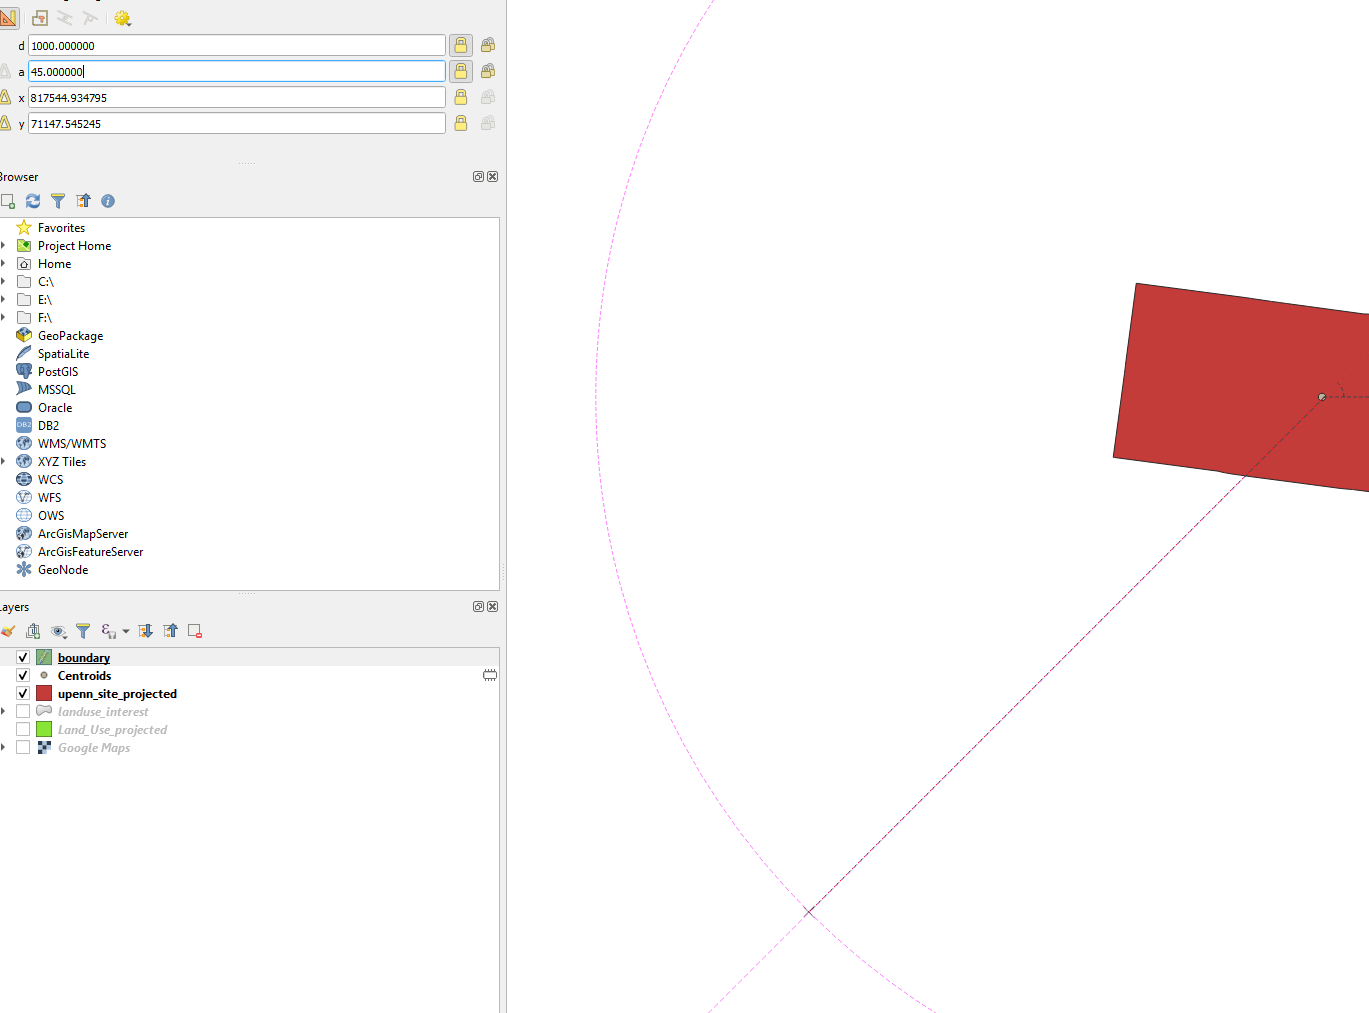
Start drawing, you can enter the distance of the line and the angle. Draw a line by entering the d (distance) and a (angle) of the line. The example shows a line of 1000m and at 45 degree.
You can easily draw circles and rectangles with the “Shape Digitizing Toolbar” options.